Manage Students
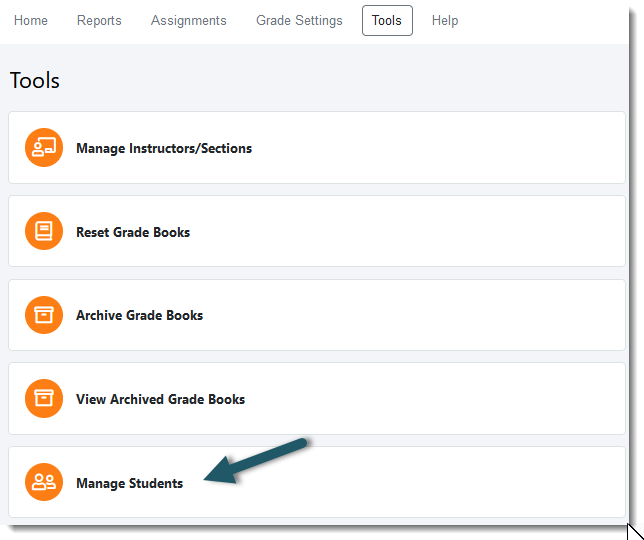
Select Manage Students under the Tools menu to view all enrolled students, transfer students to other sections, add new students to your course(s) or delete students from your course(s).
This page also allows you to view and edit information about the student--such as their email address and student ID--as well as providing the option to download the student's past transfer history.
Adding Students
Instructors may enroll students themselves if they have the student's access code. To do so, please follow these steps:
| 1. | Log in to your online Grade Book |
| 2. | Select the Tools menu |
| 3. | Select Manage Students |
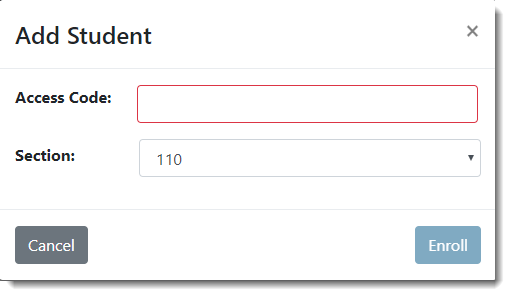
| 4. | At the bottom of the page, press Add Student |

| 5. | Enter the student's access code in the Access Code field; then, press Enroll |
Deleting Students
Instructors may delete students from their Grade Book, as well. To do so, please follow these steps:
| 1. | Log in to your online Grade Book |
| 2. | Select the Tools menu |
| 3. | Select Manage Students |
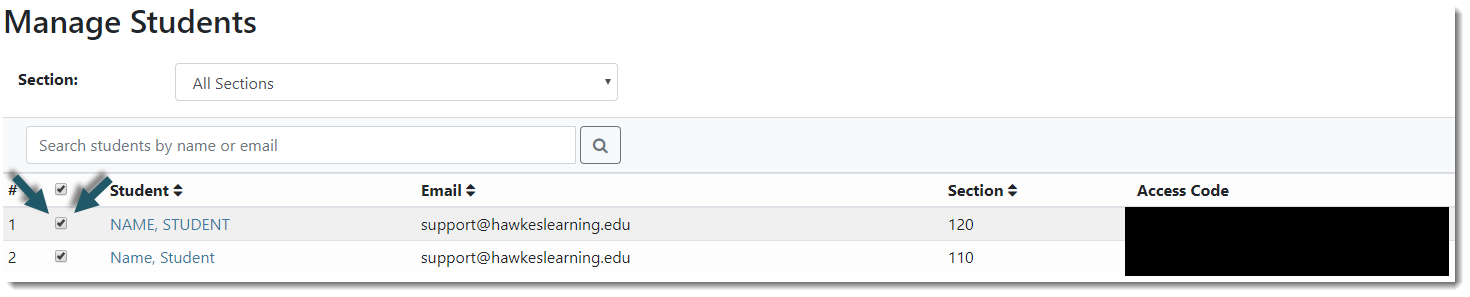
| 4. | Place a checkmark in the checkbox next to the student(s) you would like to remove from the Grade Book |
| 5. | At the bottom of the page, press Delete Students |
| 6. | On the confirmation message that pops up, select Delete to remove the student from the Grade Book |
Note: Deleting a student from the Grade Book will remove all completed work from the student's account.
Transferring Students
Instructors may transfer students between sections and to other instructors' sections via the Manage Students page. Through the transfer process, instructors will select which assignments to transfer to the new section and whether lesson time data and attendance data will transfer to the new section or not. To transfer a student or group of students, please follow these steps:
| 1. | Log in to your online Grade Book |
| 2. | Select the Tools menu |
| 3. | Select Manage Students |
| 4. | Place a checkmark in the checkbox(es) next to each student who will be transferred |
| 5. | At the bottom right-hand corner of the page, press Transfer Students |

Transferring Timing and Attendance Data
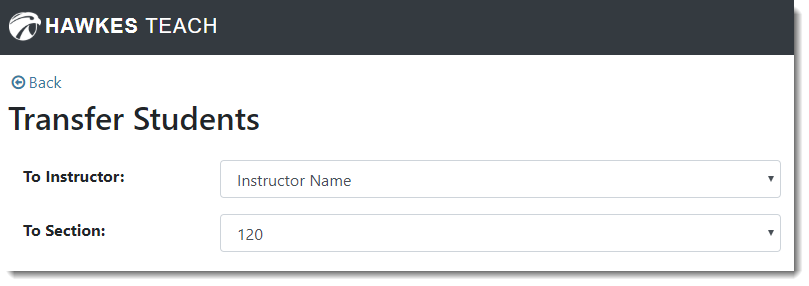
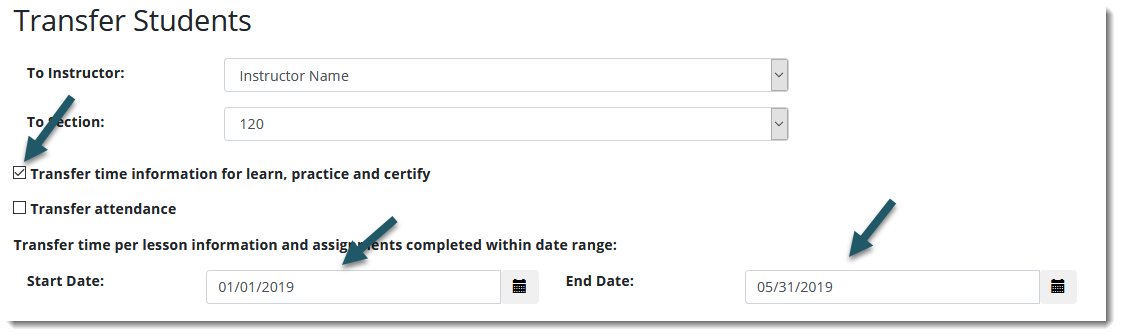
First, select the new instructor and the new section name to indicate where to transfer the student(s) to from the available drop-down menus titled, To Instructor and To Section.
Second, place a checkmark in the checkbox for Transfer time information for learn, practice and certify to transfer the student's timing data for their lesson activity. You may also establish date parameters to set the date range from which to pull the lesson time data. In the image below, lesson time data from 01/01/2019 - 05/31/2019 will transfer and any data that falls outside of this date range will be removed from the Grade Book.
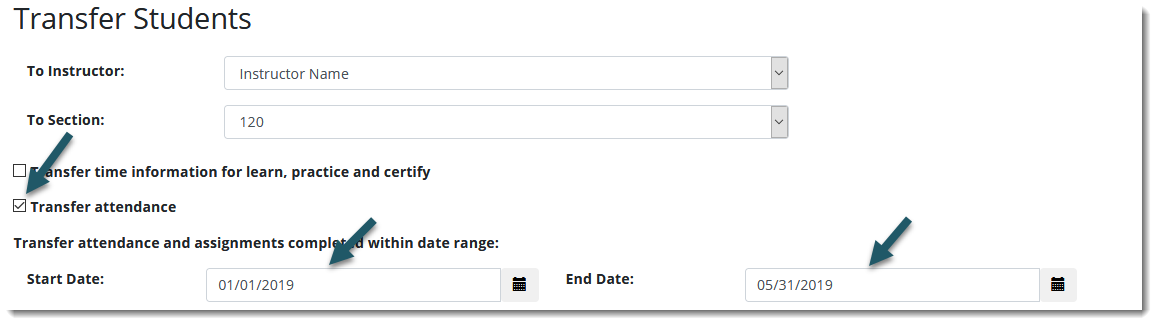
Third, if applicable, place a checkmark in the checkbox for Transfer Attendance to transfer the student's attendance data to the new section. You may also establish date parameters to set the date range from which to pull the attendance data. In the image below, attendance data from 01/01/2019 - 05/31/2019 will transfer and any attendance data outside of this date range will be removed from the Grade Book.
Note: If a Transfer Attendance option is not available on this page, the student does not have any attendance data to transfer.
Transferring Assignments
First, select the new instructor and the new section name to indicate where to transfer the student(s) to from the available drop-down menus titled, To Instructor and To Section.
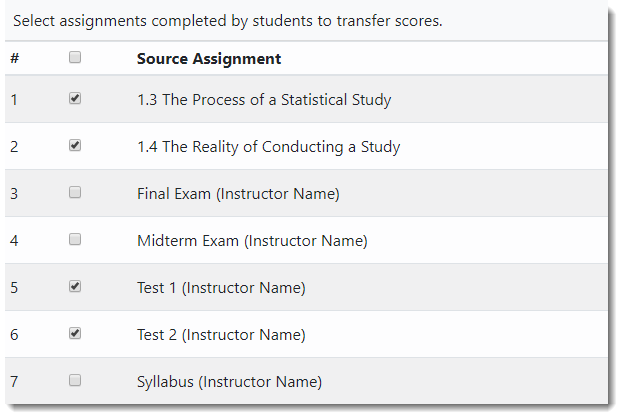
Select which assignments to transfer to the new section by placing a checkmark in the checkbox next to each assignment that will be transferred under the Source Assignment column; or, choose to remove the checkboxes next to the assignments to remove the student's assignment credit when transferred to the new section.
In the image shown below, Lesson 1.3, Lesson 1.4, Test 1 and Test 2 will be transferred to the new section. The Syllabus, Midterm Exam and Final Exam will not.
Then, select the assignment in the Target Assignment column to which grade credit will be given in the new section.
For lessons, the corresponding lesson will always display under the Target Assignment column by default, even if it is not assigned to the new section.

For WebTests, the corresponding WebTest will always display under the Target Assignment column if it is assigned to the new section. If the WebTest is not assigned to the new section, then the source assignment will be unchecked by default.
Note: If the WebTest is not assigned to the new section, then the only way to transfer the source assignment score is by selecting a matching assignment under the Target Assignment column. Only WebTests that are assigned to the new section and have the same number of points as the source assignment will be available as target assignments. If there are no WebTests with matching points in the new section, then the WebTest score cannot be transferred.

For Other Assignments, the corresponding Other Assignment will always display under the Target Assignment column if it is assigned to the new section. If the Other Assignment is not assigned to the new section, then the source assignment will be unchecked by default.
Note: If the Other Assignment is not assigned to the new section, then the only way to transfer the source assignment score is by selecting a matching assignment under the Target Assignment column. Only Other Assignments that are assigned to the new section and have the same number of points as the source assignment will be available as target assignments. If there are no Other Assignments with matching points in the new section, then the Other Assignment score cannot be transferred.

For SmartReview assignments created in the Foundations of English and English Composition Grade Books, the corresponding SmartReview assignment will display under the Target Assignment column if it is assigned to the new section. If the SmartReview assignment is not assigned to the new section, then the source assignment will be unchecked by default, and, the assignment cannot be transferred.
Student Profile and Transfer History
The Manage Students page also allows you to quickly view the student profiles for your students. At any time, simply select a student's name to view his/her Student Profile.
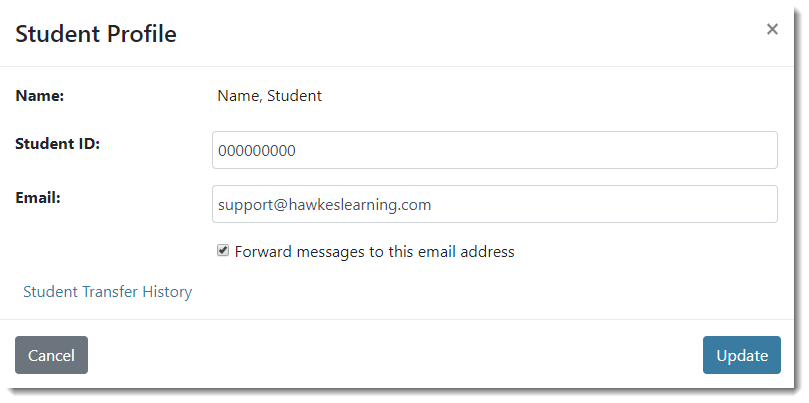
Name: Displays the name of the student.
Student ID: Displays the student ID associated with the selected student.
Email: Displays the student's email address. Place a checkmark in the checkbox for "Forward messages to this email address" to have any correspondence in the courseware forwarded to the student's email inbox.
Student Transfer History: Press the transfer history button to download an Excel spreadsheet containing the selected student's most recent transfer within the Hawkes system.
Note: If a student is deleted from the Grade Book, then their transfer history gets deleted, as well.